Appearance
Add & Manage Agents
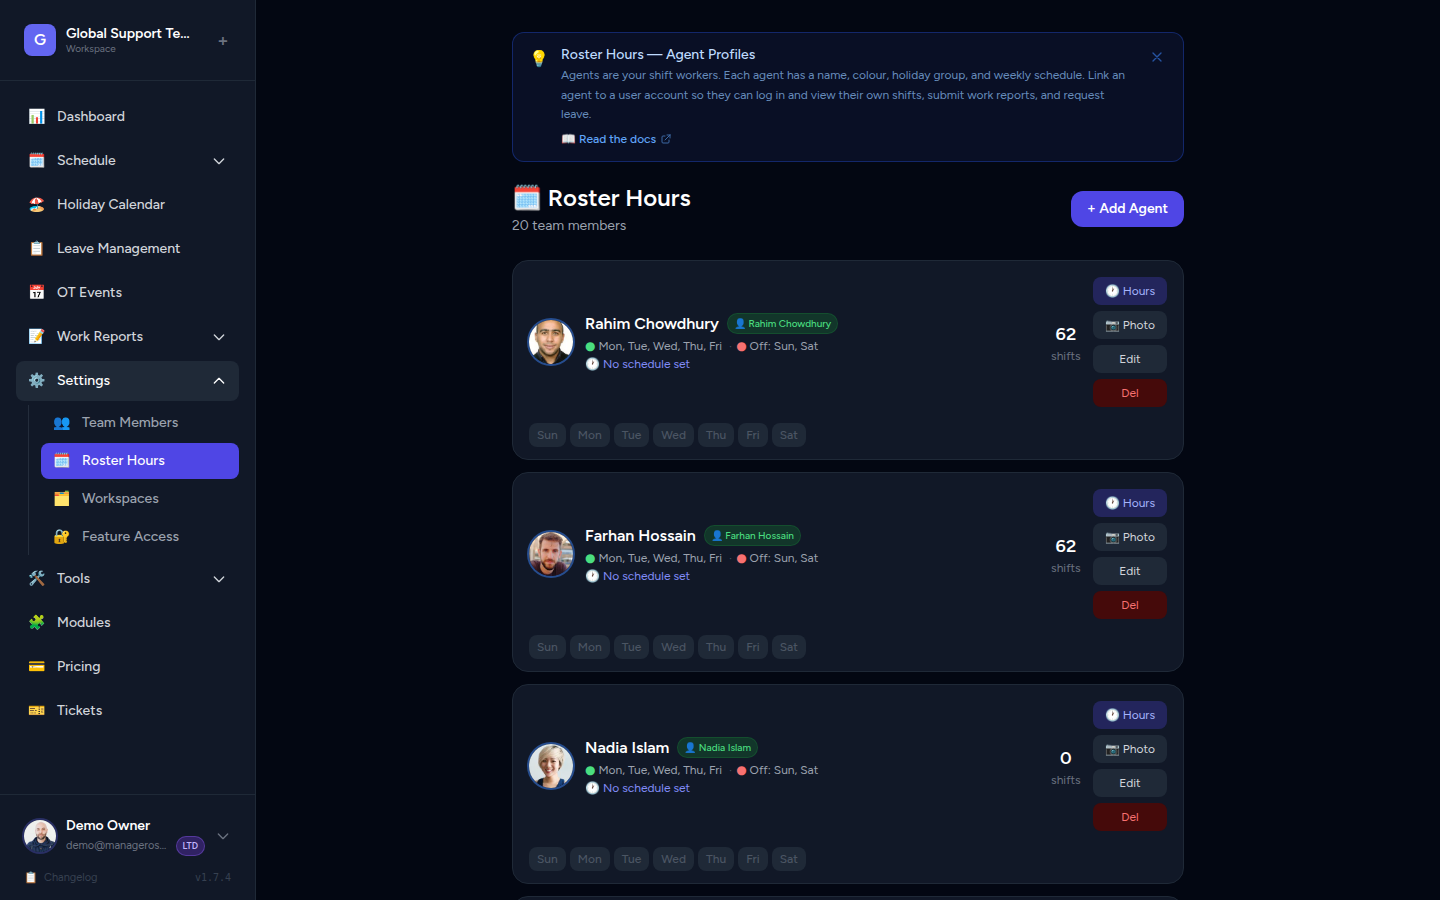
Agents are the people on your schedule. Every shift worker you want to appear on the roster needs an agent profile. This guide covers how to add, update, and manage agents in your workspace.
What Is an Agent?
An agent is a roster profile — it represents a shift worker on your schedule. When you build a schedule, assign shifts, or view the calendar, you're working with agents.
Agents vs. Users
An agent is not the same as a user (login account). Your team members can have agent profiles without having a login to the app. If you want someone to log in and see their own schedule, you'll need to link their user account to their agent profile.
Each agent has:
- A name (shown on the calendar and shift cards)
- A color (used to color-code their shifts throughout the app)
- An avatar (optional profile photo)
- A status (active or inactive)
- Working hours (the days and times they are scheduled to work)
Viewing Your Agents
To see all agents in your workspace:
- Open the left sidebar and click Agents.
- The Agents page lists every agent with their name, color badge, and avatar.
TIP
Only admins can add or edit agents. All team members can view the agents list.
Adding a New Agent
- Go to Agents in the sidebar.
- Click the Add Agent button (top-right corner).
- Fill in the agent's details:
- Name — the agent's display name as it will appear on the schedule.
- Color — pick a color to identify this agent at a glance on the calendar. Each agent should have a unique color.
- Working Days — select which days of the week this agent is scheduled to work.
- Days Off — select their regular days off.
- Holiday Group — choose Bangladesh (BD) or Philippines (PH) so public holidays are applied correctly.
- Click Save to create the agent.
📸 Screenshot: Add agent form
Pick distinct colors
Colors show up everywhere — on the calendar, in day view, and on shift cards. Choosing clearly different colors (e.g., a bright green vs. a deep purple) makes it much easier to read a busy schedule at a glance.
Example colors from a real team:
| Agent | Color |
|---|---|
| JanJan | Bright green #00C853 |
| Charina | Hot pink #E91E63 |
| Sadman | Teal #00BFA5 |
| William | Deep purple #7C4DFF |
| Dipu | Orange #FF6D00 |
| Sadat | Yellow #FFD600 |
| Nayeem | Slate grey #78909C |
Uploading an Avatar
Giving each agent a profile photo makes the schedule easier to scan, especially in day view.
- Open the Agents page and click on the agent you want to update.
- Click the Edit button or the avatar placeholder.
- Click Upload Avatar and choose a photo from your computer.
- Accepted formats: JPEG, PNG, GIF, WebP
- Maximum file size: 2 MB
- Click Save.
To remove an avatar, click the Remove Avatar option in the agent's edit panel.
📸 Screenshot: Upload avatar
Editing an Agent's Details
- Go to Agents in the sidebar.
- Click the agent you want to edit.
- Click Edit to open their settings.
- Update any of the following:
- Name
- Color
- Working days / days off
- Holiday group
- Click Save to apply your changes.

Setting an Agent's Working Hours
You can configure the specific hours each agent works on each day of the week.
- Open the agent's edit panel (see above).
- Scroll to the Daily Schedule section.
- For each working day, set the start time and end time.
- Toggle any day off by unchecking the Working checkbox for that day.
- Click Save.
Auto-generated schedule
When you save the daily schedule, Manage Roster automatically generates shift slots for this agent from today through the end of the year. You don't need to manually fill in every day.
Deactivating an Agent
Deactivating an agent removes them from the scheduling view without deleting their history. This is useful when a team member is on long-term leave or has left the team but you want to keep their past shift data.
- Go to Agents and open the agent's edit panel.
- Toggle the Active switch to Off (or uncheck the Active checkbox).
- Click Save.
The agent will no longer appear in the schedule or shift assignment dropdowns. Their past shifts remain in the system.
Don't delete unless you're sure
Deleting an agent permanently removes their profile and all associated schedule data. Deactivating is the safer option if there's any chance you'll need their records later.
To reactivate an agent, follow the same steps and switch Active back to On.
📸 Screenshot: Deactivate agent toggle
Why Agent Colors Matter
Every agent is assigned a color, and that color appears:
- On the monthly calendar — each shift block is filled with the agent's color so you can instantly see who's working when.
- In the day view — color-coded rows make it easy to compare schedules side by side.
- On shift cards and badges — agent avatars and name tags use their color as the background or border.
A well-chosen color scheme means you can read the schedule at a glance without needing to read every name.
Best practice
Avoid assigning similar colors to agents who frequently share shifts — for example, don't give two team members similar shades of blue. High-contrast colors make schedules much easier to read.
Frequently Asked Questions
Can two agents have the same color? Yes, but it's not recommended. The colors are there to help you tell agents apart visually on the calendar.
Can an agent exist without a login account? Yes. An agent is just a schedule profile. You only need to link a user account if you want that person to log in and see their own shifts.
What happens to an agent's shifts when I deactivate them? Past shifts are preserved. The agent simply won't appear in the scheduling tools going forward.