Appearance
Quick Start Guide
Get from sign-up to your first live schedule in 5 minutes.
What you'll need
A valid email address and your team's shift times. That's it.
Step 1 — Create Your Account
- Go to app.manageroster.com/register
- Enter your Full Name, Email, Password, and Confirm Password
- Click Register
📸 Screenshot: Register screen
Already have an account?
Head to app.manageroster.com and sign in.
Step 2 — Create Your Workspace
Right after registering, you'll land on the Create a Workspace screen. Every team starts with one workspace — it keeps your schedule, agents, and data all in one place.
- Type a Workspace Name (e.g. "Support Team" or your company name)
- Optionally upload a Logo Image
- Pick an Accent Color to make it yours
- Click Create Workspace
📸 Screenshot: Create workspace screen
One workspace, one team
If you manage multiple teams separately, you can add more workspaces later from the sidebar.
Step 3 — Add Your First Agent
An agent is any team member who has a scheduled shift. Let's add one now.
- In the left sidebar, click 👥 Agents
- Click + Add Agent in the top-right corner
- Fill in the Name (e.g. "Maria")
- Pick a Color — this is how the agent shows up on the schedule (each person gets a distinct color)
- Select their Office Days — the days they normally work
- Select their Off Days — the days they're off
- Click Create Agent
📸 Screenshot: Add agent form
Color matters
Colors make it easy to spot each agent at a glance in the Day View. Choose something distinct.
Step 4 — Set Their Working Hours
Now tell Manage Roster when each agent works on their office days.
- On the Agents page, find the agent you just created
- Click the 🕐 Hours button on their card
- For each working day, toggle it on and set the Start Time and End Time
- Click Save
📸 Screenshot: Set working hours
Overnight shifts
If a shift crosses midnight (e.g. 10 PM – 6 AM), just set the end time past midnight — the app handles the "+1 day" automatically.
Step 5 — View Your Live Schedule
That's it — your schedule is live! Let's see it.
- In the sidebar, click 📆 Day View / 24h
- You'll see a 24-hour timeline with your agent's shift block highlighted in their color
- Use the ← Prev / Next → arrows at the top to browse other days
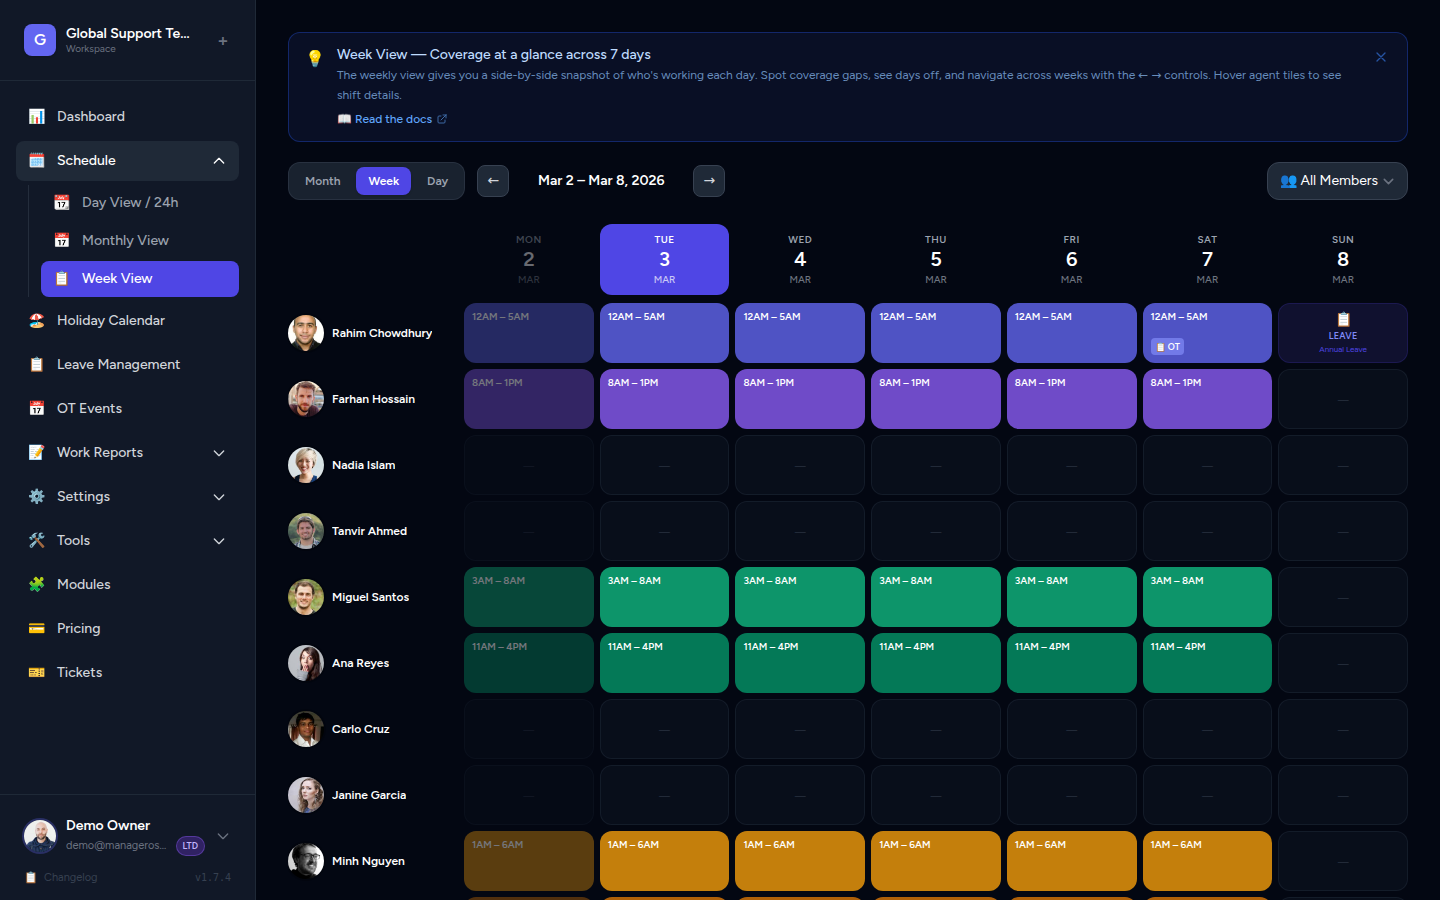
The Day View shows:
- Which agents are on duty at each hour
- Coverage gaps (hours with no one scheduled)
- OT opportunities when gaps are detected
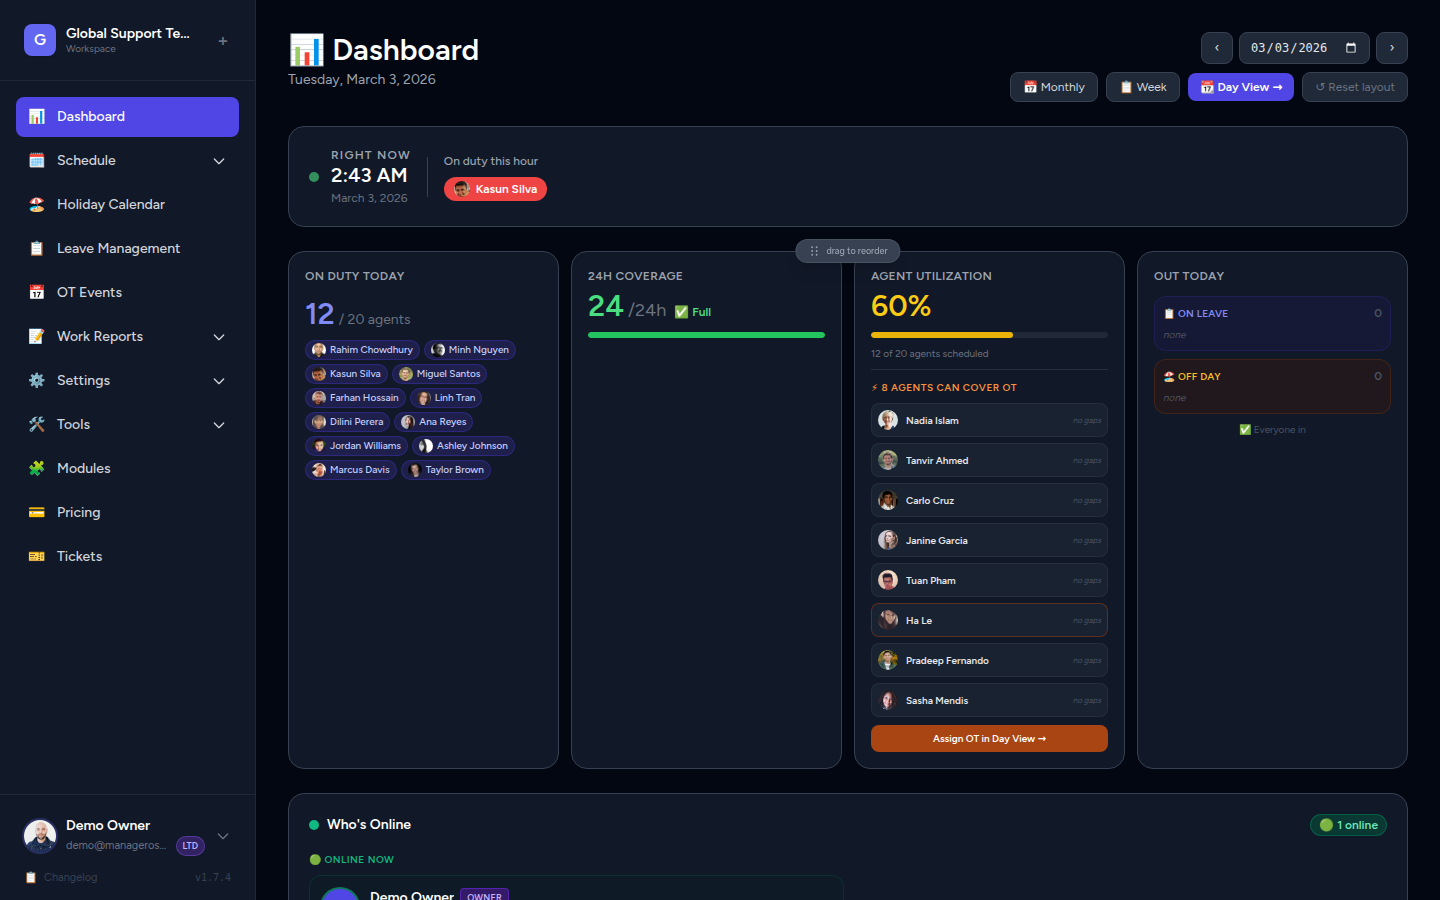
Dashboard overview
Click 📊 Dashboard in the sidebar for a bird's-eye view: today's on-duty agents, weekly coverage stats, and any gaps at a glance.
Step 6 (Optional) — Invite a Team Member
Want a colleague to view or manage the schedule too?
- In the sidebar, click 🔐 Members
- Click + Add User
- Fill in their Full Name, Email, Password, and assign a Role
- Admin — can add/edit agents and schedules
- Member — view-only access
- Click Create
Share the login credentials with your team member and they can sign in at app.manageroster.com.
📸 Screenshot: Add user screen
You're All Set 🎉
Here's what you've done:
| Step | Done |
|---|---|
| Created your account | ✅ |
| Set up a workspace | ✅ |
| Added an agent | ✅ |
| Set working hours | ✅ |
| Viewed the live schedule | ✅ |
What's next?
- Add more agents to build out your full team
- Set up leave & holidays so off-days show correctly
- Explore the Monthly View for a full calendar overview