Appearance
Workspace Setup
A workspace is your team's home in Manage Roster. It holds everything your team needs — agents, schedules, leave records, and settings — all in one place. If your organisation runs multiple teams or departments, each one can have its own workspace with its own schedule and settings.
Who can do this?
Creating a workspace is available to any logged-in user. Editing workspace settings (name, timezone, logo) is restricted to the Owner (the person who created the workspace).
What Is a Workspace?
Think of a workspace as a dedicated scheduling environment for your team. When you log in to Manage Roster, you're always working inside a workspace. Everything you see — agents, shifts, leave calendars — belongs to that workspace and is separate from any other workspace you may belong to.

Creating Your First Workspace
When you sign up and log in for the first time, Manage Roster will automatically guide you to create a workspace.
- After logging in, click Create Workspace when prompted.
- Enter a Workspace Name (e.g. Support Team – APAC or Customer Ops).
- Optionally, upload a Logo for your workspace — this helps distinguish it when you belong to multiple workspaces. Accepted image formats; max size 2 MB.
- Click Create to finish.
You'll be taken straight to your new workspace dashboard.
Naming your workspace
Choose a name that your team members will recognise at a glance. You can always rename it later in Workspace Settings.
Editing Workspace Settings
Once your workspace is created, you can update its name, logo, and timezone at any time.
- In the left sidebar or top navigation, go to Workspace Settings.
- Update any of the following:
- Name — Change the display name of your workspace.
- Timezone — Set the timezone your schedules are based on. This affects how shifts and times appear across the app.
- Logo / Image — Upload a new logo or remove the existing one.
- Click Save to apply your changes.
📸 Screenshot: Workspace settings page
Owner only
Only the Owner of a workspace can edit its settings. If you don't see Workspace Settings in the menu, ask your workspace owner to make the changes.
Workspace URL
Every workspace gets a unique URL identifier (called a slug) that is automatically generated from its name when it's created. For example, a workspace named Support Team might get the slug support-team.
This slug is used internally by the app and may appear in the browser address bar. You don't need to manage it manually — it's set once at creation time.
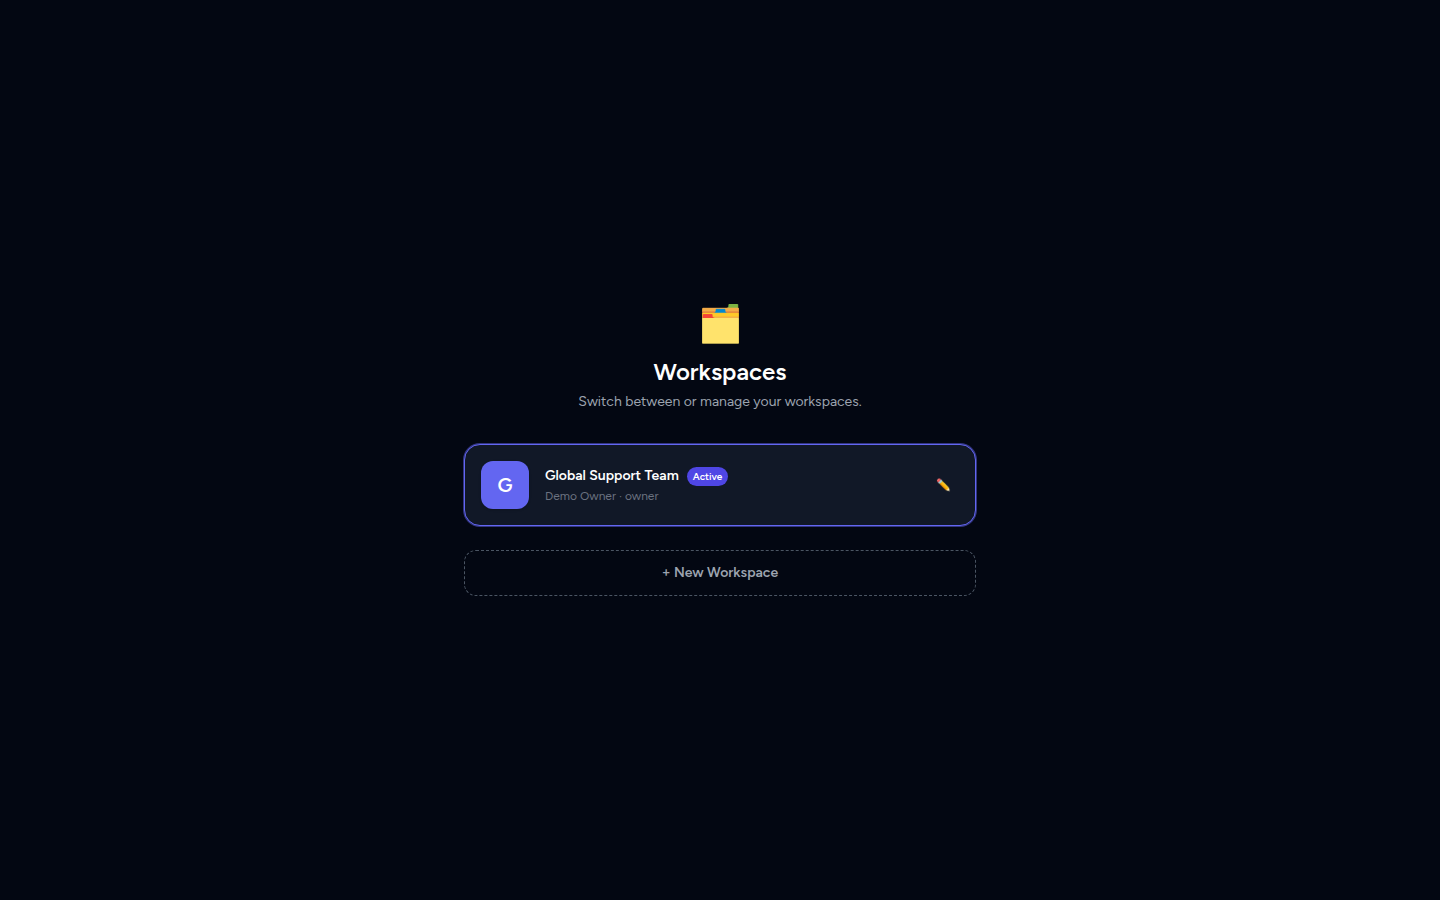
Switching Between Workspaces
If you belong to more than one workspace (for example, you manage both a day-shift and a night-shift team), you can switch between them without logging out.
- Look for the workspace switcher in the top navigation bar — it shows your current workspace name and logo.
- Click on it to open the workspace list.
- Select the workspace you want to switch to.
The page will reload in the context of the selected workspace, and all agents, schedules, and settings will reflect that workspace.
📸 Screenshot: Workspace switcher dropdown
No switcher visible?
If you only belong to one workspace, the switcher won't appear. It shows up automatically once you've been added to — or created — a second workspace.
Creating Additional Workspaces
Need a separate workspace for another team? Any logged-in user can create a new workspace.
- Open the workspace switcher in the top navigation.
- Click Create New Workspace at the bottom of the list.
- Follow the same steps as Creating Your First Workspace above.
You'll become the Owner of any workspace you create.
Next Steps
Once your workspace is set up, the next step is to invite your team members so they can log in and access the schedule.