Appearance
Managing Workspace Members
The Users page is your central hub for managing who has login access to your workspace. This guide explains how to view, add, edit, and remove members, and clarifies the important distinction between members and agents — two concepts that often get mixed up.
Who can do this?
Only the workspace Owner can manage members (add, remove, change roles).
Members vs. Agents — Understanding the Difference
This is the most important concept to understand before managing your workspace.
| Members | Agents | |
|---|---|---|
| What they are | People with login accounts | Shift workers on the schedule |
| Where they appear | Users page | Agents section |
| How they're created | Invited by email | Manually added by a Manager or Owner |
| Purpose | Log in to view or manage the workspace | Represent schedule slots and shift assignments |
| Need a subscription? | Inherit the owner's plan | N/A — agents don't log in |
In short:
- Agents are the people on the schedule — their shifts, leaves, and OT events are tracked here.
- Members are the people in the app — they log in to view, manage, or submit reports.
A person can be both: a support rep who appears on the schedule (agent) and also logs in to check their own shifts (member). But you set them up separately.
You don't need to invite everyone
Only invite people who need login access. A team of 20 agents can be managed by just 1 or 2 members with the Manager role — the other 18 don't need accounts.
Viewing the Member List
To see all members in your workspace:
- In the left sidebar, click Users.
- The member list shows everyone with login access, including:
- Name and email address
- Role (Owner, Manager, Lead, or Member)
- Linked Agent (if their account is connected to an agent profile)
- Status (Active or Pending — pending means the invite hasn't been accepted yet)
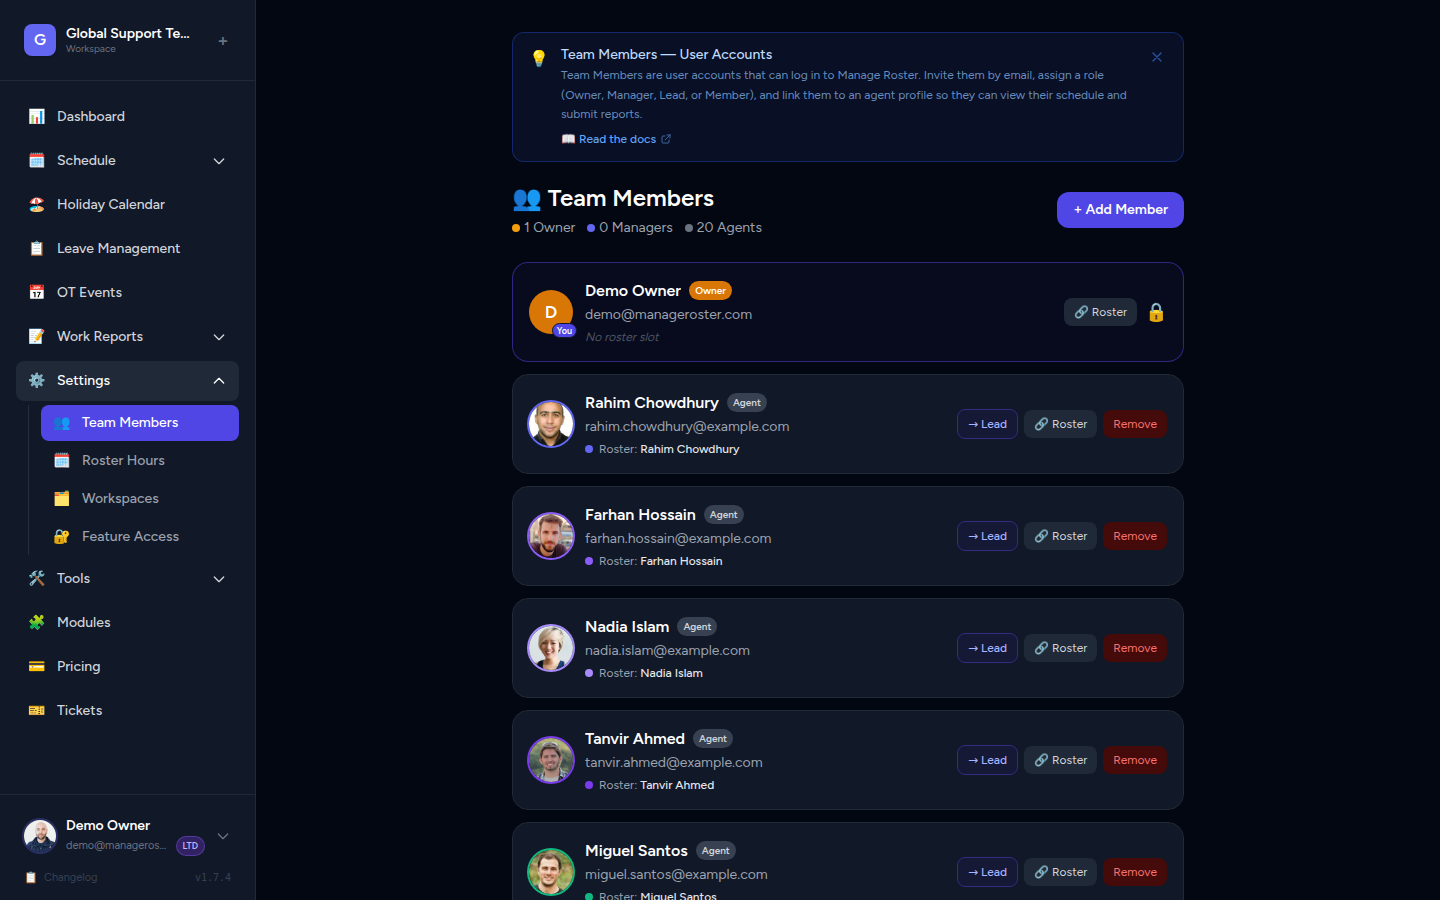
📸 Screenshot: Users page showing a list of members with name, email, role, and linked agent columns
Adding a Member
Members are added by sending an email invitation. See the full invitation guide for details:
Quick steps:
- Go to Users → click Invite Member.
- Enter their name, email, and role.
- Optionally link them to an existing agent profile.
- Click Send Invite.
Plan limits apply to agents, not members
The Free plan limits you to 10 agents. There's no separate cap on the number of members you can invite. However, keep in mind that most members should also have a corresponding agent if they appear on the schedule.
Removing a Member
If someone leaves the team or no longer needs access:
- Go to Users in the sidebar.
- Find the member you want to remove.
- Click the three-dot menu (⋯) next to their name, then select Remove Member.
- Confirm the action.
The member's login access is revoked immediately. Their agent profile is not deleted — shift history, leave records, and OT data are preserved.
Cannot remove the workspace Owner
The Owner cannot be removed from their own workspace. If ownership needs to change, contact Manage Roster support.
📸 Screenshot: Users page with the three-dot menu open, showing "Remove Member" option
Changing a Member's Role
- Go to Users in the sidebar.
- Click Edit (or the three-dot menu) next to the member.
- Select the new role: Manager, Lead, or Member.
- Save the change.
The update takes effect immediately.
Role Capabilities at a Glance
| Action | Owner | Manager | Lead | Member |
|---|---|---|---|---|
| View schedule and agents | ✅ | ✅ | ✅ | ✅ |
| Submit OT requests | ✅ | ✅ | ✅ | ✅ |
| Submit work reports | ✅ | ✅ | ✅ | ✅ |
| Edit schedule / assign shifts | ✅ | ✅ | ✅ | ❌ |
| Add / edit / remove agents | ✅ | ✅ | ✅ | ❌ |
| Approve leave requests | ✅ | ✅ | ✅ | ❌ |
| Manage OT events | ✅ | ✅ | ✅ | ❌ |
| Manage holidays | ✅ | ✅ | ✅ | ❌ |
| Manage workspace settings | ✅ | ❌ | ❌ | ❌ |
| Invite / remove members | ✅ | ❌ | ❌ | ❌ |
| Manage billing / plan | ✅ | ❌ | ❌ | ❌ |
About the Lead role
Lead sits between Manager and Member in the role hierarchy. Leads have full scheduling and roster access — they can manage shifts, approve leave, handle OT events, and view all schedule views — but they cannot manage billing, change workspace settings, or invite/remove members. Those actions remain Owner-only.
Owner role is permanent
You cannot change a member's role to Owner, nor can you change the Owner's role. The Owner role is permanently assigned to the account that created the workspace.
Linking a User Account to an Agent
When a member is also on your schedule (i.e. they're both a login account and a shift worker), you should link their member account to their agent profile. This connection unlocks several important behaviours:
Why Link?
- Work Reports: Submissions are automatically attributed to the correct agent, enabling accurate per-agent reporting.
- OT Submissions: When the member submits an OT request, it's linked to their schedule slot automatically.
- Personalised view: The member can view their own upcoming shifts clearly distinguished from the rest of the team.
How to Link an Agent
During invitation:
- On the Invite Member form, use the Link to Agent dropdown to select the matching agent.
For an existing member:
- Go to Users in the sidebar.
- Click Edit (or the three-dot menu) on the member.
- Select the agent from the Linked Agent field.
- Save.
📸 Screenshot: Edit member form with the "Linked Agent" dropdown open
Create the agent first
The agent must already exist before you can link it. If you haven't added this person as an agent yet, go to the Agents section first.
Plan Limits and Members
Your subscription plan affects agents, not members directly:
| Plan | Agent Limit | Member Limit |
|---|---|---|
| Free | 10 agents | No hard limit on members |
| Pro | Unlimited | Unlimited |
| LTD | Unlimited | Unlimited |
Why agent limits matter
Since agents represent schedule slots, the agent limit is the effective cap on how many people you can schedule. If you're on the Free plan and have 10 agents, you can still invite additional members (e.g. Managers) without hitting a cap — but you won't be able to add more agents to schedule.
If you're approaching your agent limit, consider upgrading to Pro.
→ Subscription Plans & Pricing
Frequently Asked Questions
What's the difference between a "pending" and "active" member?
- Pending: The invitation email has been sent but the person hasn't clicked the link and set their password yet. Invite links expire after 60 minutes.
- Active: The person has accepted the invite and can log in.
If I remove a member, do their submitted reports get deleted?
No. Work report submissions and OT records are preserved even after a member is removed. Only their login access is revoked.
Can a member see other workspaces they're part of?
Yes. If a member has been invited to multiple workspaces, they'll see all of them in the workspace switcher. Viewing one workspace doesn't affect another.
What if I link the wrong agent to a member?
You can edit the link at any time. Go to Users, click Edit on the member, and change the Linked Agent selection.
Next Steps
- Inviting Team Members — Full email invitation flow
- Add & Manage Agents — Create agent profiles for your schedule
- Subscription Plans & Pricing — Plan limits and upgrade options