Appearance
Inviting Team Members to Your Workspace
Giving your team access to Manage Roster is done through email invitations. When you invite someone, they receive an email with a secure link to join your workspace. This guide explains exactly how the invitation flow works, what your team members will experience, and how to manage roles and agent links.
Who can do this?
Only the workspace Owner can invite and manage members.
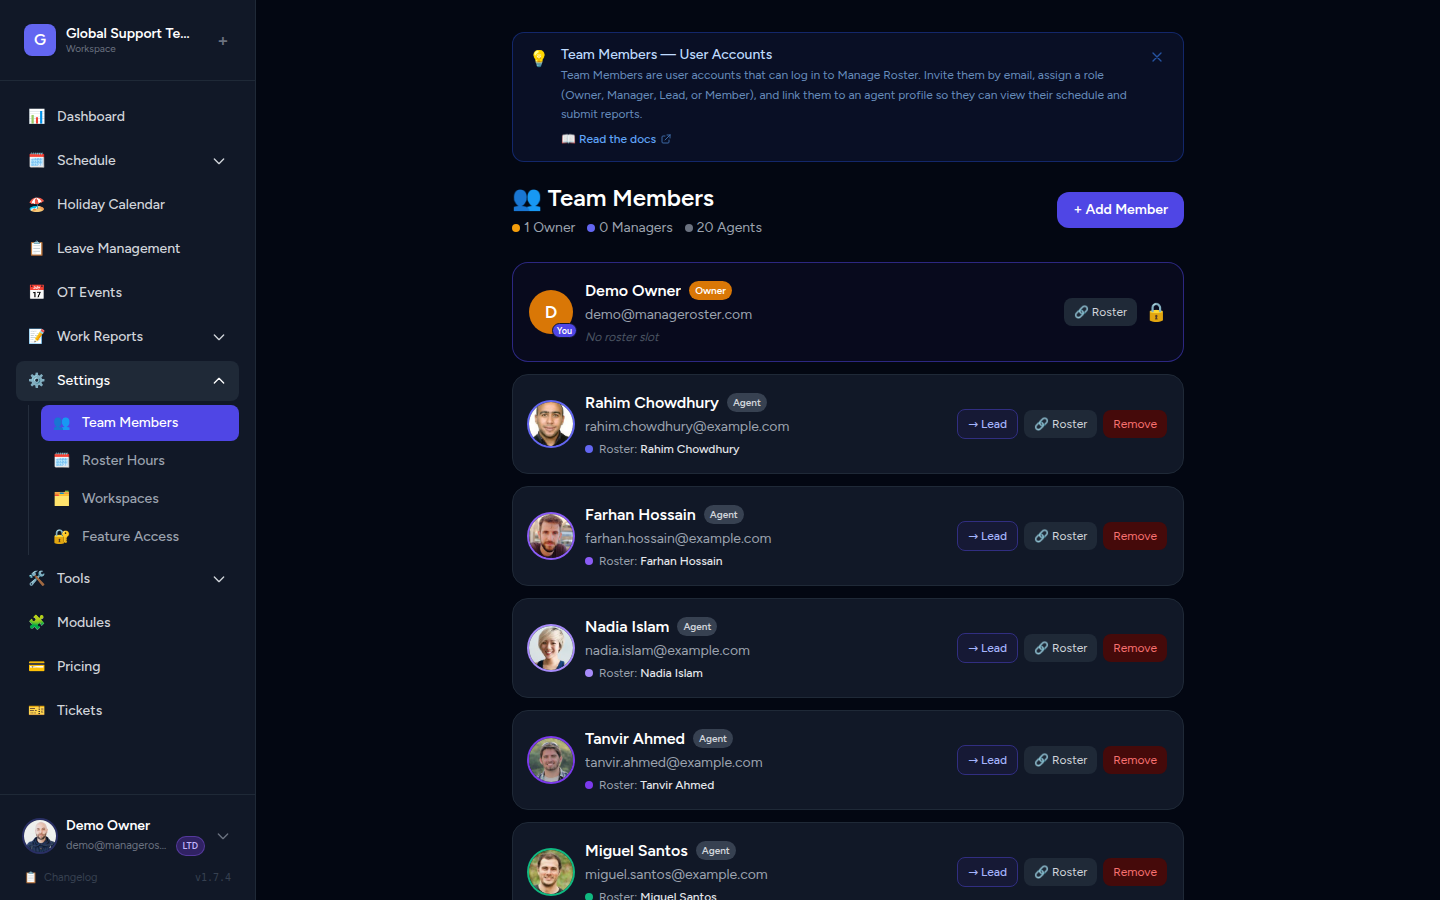
Before You Invite: Members vs. Agents
Manage Roster has two separate concepts that are easy to confuse:
| Members | Agents | |
|---|---|---|
| What they are | People who log in to the app | Shift workers who appear on the schedule |
| How they're created | Invited by the workspace Owner | Added manually in the Agents section |
| Purpose | Access and manage (or view) the workspace | Represent the team members whose shifts are tracked |
You don't have to invite everyone on your team — only the people who need to log in. The rest can be represented as agents on the schedule without ever having an account.
Example
You manage a 15-person support team. All 15 are added as Agents so their shifts appear on the schedule. You invite 2 team leads as Members (with the Manager role) so they can edit the schedule. The other 13 don't need login access — they stay as agents only.
Roles Explained
Every member has a role that determines what they can do in your workspace:
| Role | Capabilities |
|---|---|
| Owner | Full access to everything: schedules, agents, users, workspace settings, and billing. Automatically assigned to the person who created the workspace. Cannot be changed. |
| Manager | Can view and edit schedules, manage agents, approve/reject leaves, manage holidays, and handle OT events. Cannot manage users or workspace settings. |
| Member | View-only access to the schedule and agent list. Can submit OT requests and work reports. Cannot make any changes to the roster. |
Only one Owner per workspace
The Owner role is assigned to whoever creates the workspace and cannot be reassigned through the normal flow. If you need to transfer ownership, contact Manage Roster support.
How to Send an Invitation
- In the left sidebar, click Users (or Members).
- Click Invite Member.
- Fill in the invitation form:
- Name — The person's display name
- Email address — Where the invite will be sent
- Role — Choose Manager or Member (see Roles Explained above)
- Link to Agent (optional) — Connect this user to an existing agent profile (see Linking a User to an Agent below)
- Click Send Invite.
📸 Screenshot: "Invite Member" form with name, email, role dropdown, and optional agent link field
Double-check the email address
Invitations are sent immediately. If you enter a typo, you'll need to remove the invitation and re-invite with the correct address.
What Happens After You Send an Invite
New Users (No Existing Account)
If the email address isn't registered in Manage Roster:
- The person receives an invitation email with a set-password link.
- They click the link and choose a password for their new account.
- They're logged in immediately and taken to your workspace.
Invite links expire after 60 minutes
The set-password link in the invitation email is valid for 60 minutes only. If your team member doesn't click it in time, you'll need to remove them from the Users list and re-invite them.
📸 Screenshot: Sample invitation email with the "Set Password & Join" button
Existing Users (Already Have an Account)
If the email address is already registered in Manage Roster:
- No email is sent. The user already has an account, so there's nothing for them to set up.
- They are silently added to your workspace with the role you assigned.
- The next time they log in (or if they're already logged in), they'll see your workspace in their workspace switcher.
Existing users see it instantly
If the user is already logged in when you send the invite, they may need to refresh the page or switch workspaces to see the new one.
Linking a User to an Agent
When you invite a member, you can optionally link them to an agent profile. This connects their login account to the corresponding schedule slot.
Why It Matters
| Without a linked agent | With a linked agent |
|---|---|
| The user can log in and view/manage the workspace | The user can do everything above, plus have OT submissions and work reports automatically associated with their schedule slot |
| Work reports and OT requests are submitted generically | Work reports and OT submissions are tied to their specific agent profile, enabling accurate reporting |
| No personalised schedule view | The user can see their own shifts highlighted or filtered |
How to Link an Agent
During invitation:
- On the invite form, find the Link to Agent dropdown.
- Select the existing agent that corresponds to this person.
- Send the invite as normal.
After invitation (editing an existing member):
- Go to Users in the sidebar.
- Find the member and click Edit (or the three-dot menu).
- Select the agent from the Linked Agent dropdown.
- Save the change.
Create the agent first
Make sure you've already added the person as an Agent in the Agents section before trying to link them. You can't create an agent from the invite form.
Managing Existing Invitations
Viewing Pending Invites
In the Users page, you may see members listed with a Pending status. These are people who have been invited but haven't yet accepted (clicked the email link and set their password).
Resending or Cancelling an Invite
If an invite expires or the person didn't receive it:
- Go to Users in the sidebar.
- Find the pending member.
- Use the Resend Invite option (or remove and re-invite them).
Frequently Asked Questions
Can a team member register on their own and join our workspace?
No. New users who try to register with an email that has already been invited will be prompted to log in instead. Workspace access is granted only through invitations from the workspace Owner — members cannot self-join.
What if the person already has a Manage Roster account from another workspace?
They'll be silently added to your workspace (no email sent). They'll see your workspace in their workspace switcher the next time they open the app.
Does inviting someone count against my agent limit?
Members (login accounts) and Agents (schedule slots) are counted separately. The plan limit of 10 agents (Free) refers to agent profiles, not to the number of members who can log in. That said, a good practice is to only invite people who genuinely need login access.
Can I change a member's role after they've joined?
Yes. Go to Users, click Edit on the member, change their role, and save. The change takes effect immediately.
What happens if I remove a member?
Removing a member revokes their login access immediately. Their agent profile (if they had one linked) remains on the schedule — removing a member does not delete their shift history or agent data.
Next Steps
- Managing Workspace Members — Full guide to the Users page and member management
- Add & Manage Agents — Create agent profiles before linking them to members
- Subscription Plans & Pricing — Understand member and agent limits by plan