Appearance
Approving or Rejecting Leave Requests
When a leave request is submitted, it waits in a Pending state until a manager or admin reviews it. Approving a leave automatically updates the agent's schedule — they will appear as absent on the Day View and calendar for those dates.
Finding Pending Leave Requests
You can access pending requests from two places:
From the Dashboard:
- The Upcoming Leaves card shows leave requests due in the next 7 days. Click any entry to open it.
From the Leave menu:
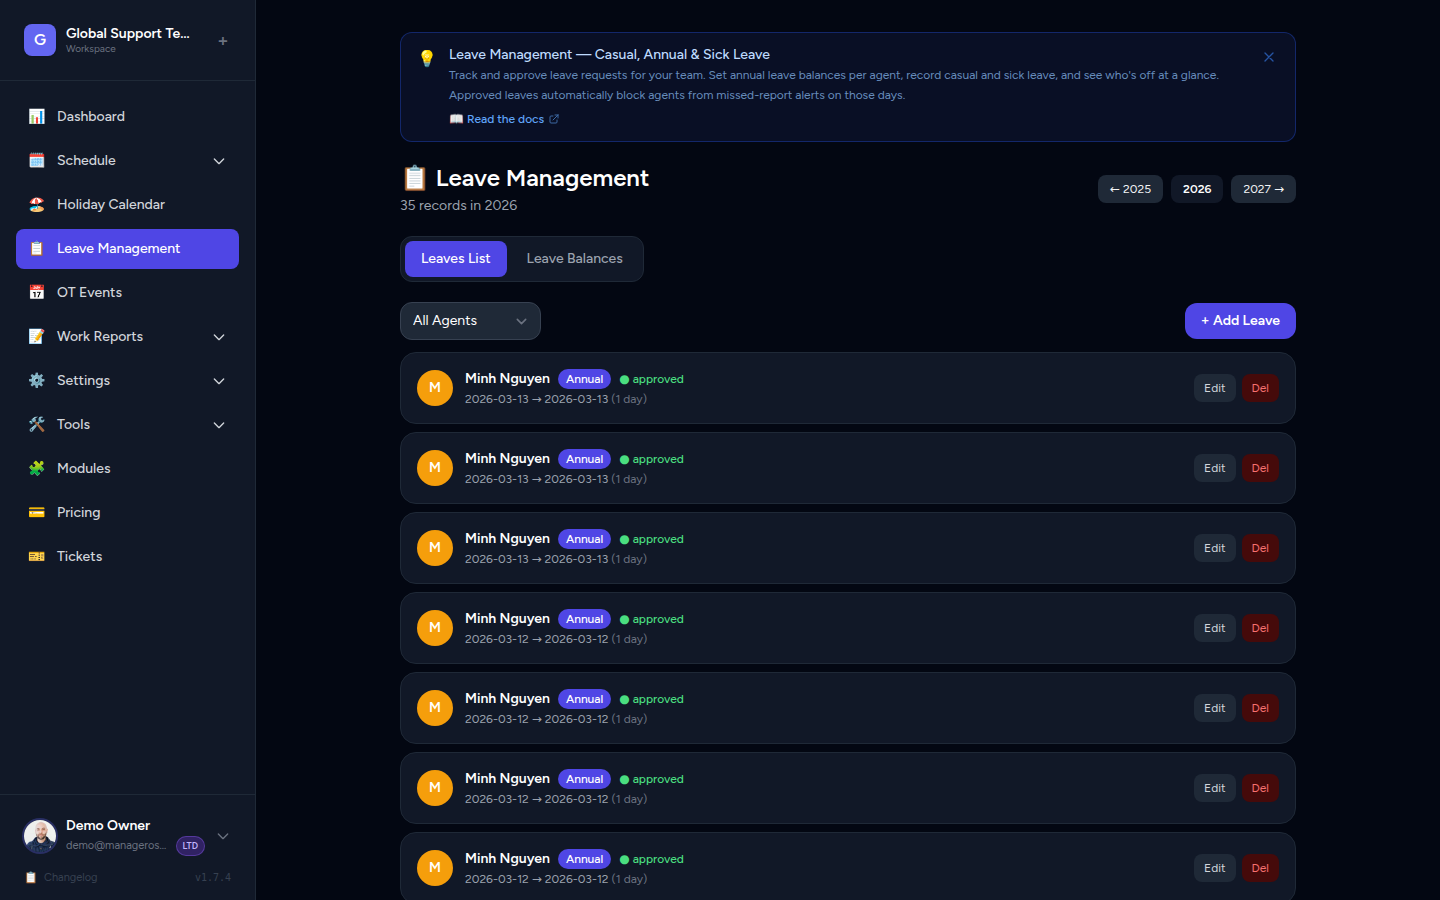
- Go to Leave Management in the sidebar.
- Use the status filter to select Pending.
- All open requests are listed, newest first.
📸 Screenshot: Leave Management page filtered to "Pending" status
Reviewing a Leave Request
Click on a leave request to see the full details:
- Agent name
- Leave type — Casual, Annual, or Sick
- Date range — Start and end dates, and total days
- Notes — Any reason or context the requester added
- Current balance — Days used vs. entitlement for that leave type
📸 Screenshot: Leave request detail view showing agent, type, dates, and balance
Take a moment to check the agent's leave balance before approving, especially for annual leave, to make sure they have enough days remaining.
Approving a Leave
- Open the leave request.
- Click Approve.
📸 Screenshot: Leave request with the "Approve" button highlighted
What happens next:
- The leave status changes to Approved.
- The agent's scheduled shifts for those dates are automatically removed.
- The agent appears as absent in the Day View, Monthly Calendar, and the Dashboard "Who's Out" card.
- The agent's leave balance is updated to reflect the used days.
Immediate effect
The calendar updates right away — no need to refresh or manually edit the schedule.
Rejecting a Leave
If the dates don't work for coverage or the request needs to be declined for any reason:
- Open the leave request.
- Click Reject.
- (Optional) Add a note explaining the reason — this helps the agent understand and plan accordingly.
- Confirm the rejection.
📸 Screenshot: Reject confirmation with optional note field
The leave status changes to Rejected. The agent's schedule remains unchanged — their shifts for those dates stay in place.
Letting agents know
Manage Roster does not send automatic notifications. After rejecting a request, let the agent know directly (via Slack, email, or your usual channel) so they can plan their time off for different dates if needed.
Re-opening or Reversing a Decision
If you approved a leave by mistake or circumstances change:
- To reverse an approval — Delete the leave record. The agent's schedule will be automatically restored for those dates.
- To re-evaluate a rejection — Open the leave request and click Approve to change the status.
Handling Multiple Pending Requests
When several agents have submitted leave around the same time:
- Go to Leave Management and filter by Pending.
- Work through the list one by one — click each request to review and decide.
- Pay attention to overlapping date ranges: if multiple agents from the same team are requesting the same dates, check coverage on the Day View before approving all of them.
📸 Screenshot: Leave Management list with multiple pending requests, sorted by start date
Check coverage before bulk approving
Approving several overlapping leaves at once can leave a shift understaffed. Open the Day View for the dates in question to confirm you still have enough coverage before confirming each request.
Leave Status Summary
| Status | Meaning | Schedule Impact |
|---|---|---|
| Pending | Submitted, awaiting decision | No change to schedule |
| Approved | Confirmed — agent is off | Shifts removed for those dates |
| Rejected | Declined | No change to schedule |