Appearance
Day View & Live Schedule
Monitor your entire team's coverage in real time — hour by hour, across a full 24-hour day.
What the Day View Shows
The Day View is a 24-hour timeline showing every agent's schedule for a single date. Each row of the timeline represents one hour of the day (midnight through 11 PM). Agent avatars/chips appear in each hour row where they are assigned.
At a glance you can see:
- Who is on shift right now and for each upcoming hour
- Which shift band each hour falls into (morning, night, or late night)
- A live red line marking the current time
- Agents who are on leave, on a day off, or on a public holiday today
The 3 Shift Bands
The 24-hour timeline is divided into three color-coded bands to help you quickly understand what part of the day you're looking at:
| Band | Hours | Background | Border | What It Means |
|---|---|---|---|---|
| 🌅 MORNING-DAY | ~6 AM – 4 PM | Dark navy | Cyan | Business hours / daytime coverage |
| 🌙 NIGHT | ~4 PM – midnight | Deep purple | Violet | Evening and night shift |
| 🌛 LATE NIGHT | ~midnight – 6 AM | Dark brown | Gold | Graveyard / overnight shift |
The background color of each hour row changes automatically depending on which band it belongs to, so you never have to guess what shift you're looking at.
📸 Screenshot: Shift bands on the timeline
The Live NOW Indicator
A red line (▶ NOW) runs across the timeline to mark the current time. As the clock ticks, the indicator moves to the correct position within the current hour row — so you can see at a glance exactly where you are in the day and how much of the current shift remains.
INFO
The live clock updates every minute. Hours that have already passed are dimmed, making it easy to focus on what's happening now and what's coming up.
Navigating Between Dates
Date Strip
At the top of the Day View there is a scrollable date strip showing a 21-day window:
- 7 days before today (recent history)
- Today (highlighted in a different color)
- 13 days ahead (upcoming shifts)
Click any date in the strip to jump to that day instantly.
Previous / Next Arrows
Use the ← (Previous Day) and → (Next Day) arrows on either side of the date header to step back or forward one day at a time.
📸 Screenshot: Date strip and navigation arrows
TIP
To jump to a specific date further out, use the Monthly Calendar and click the day — it will open the Day View for that date.
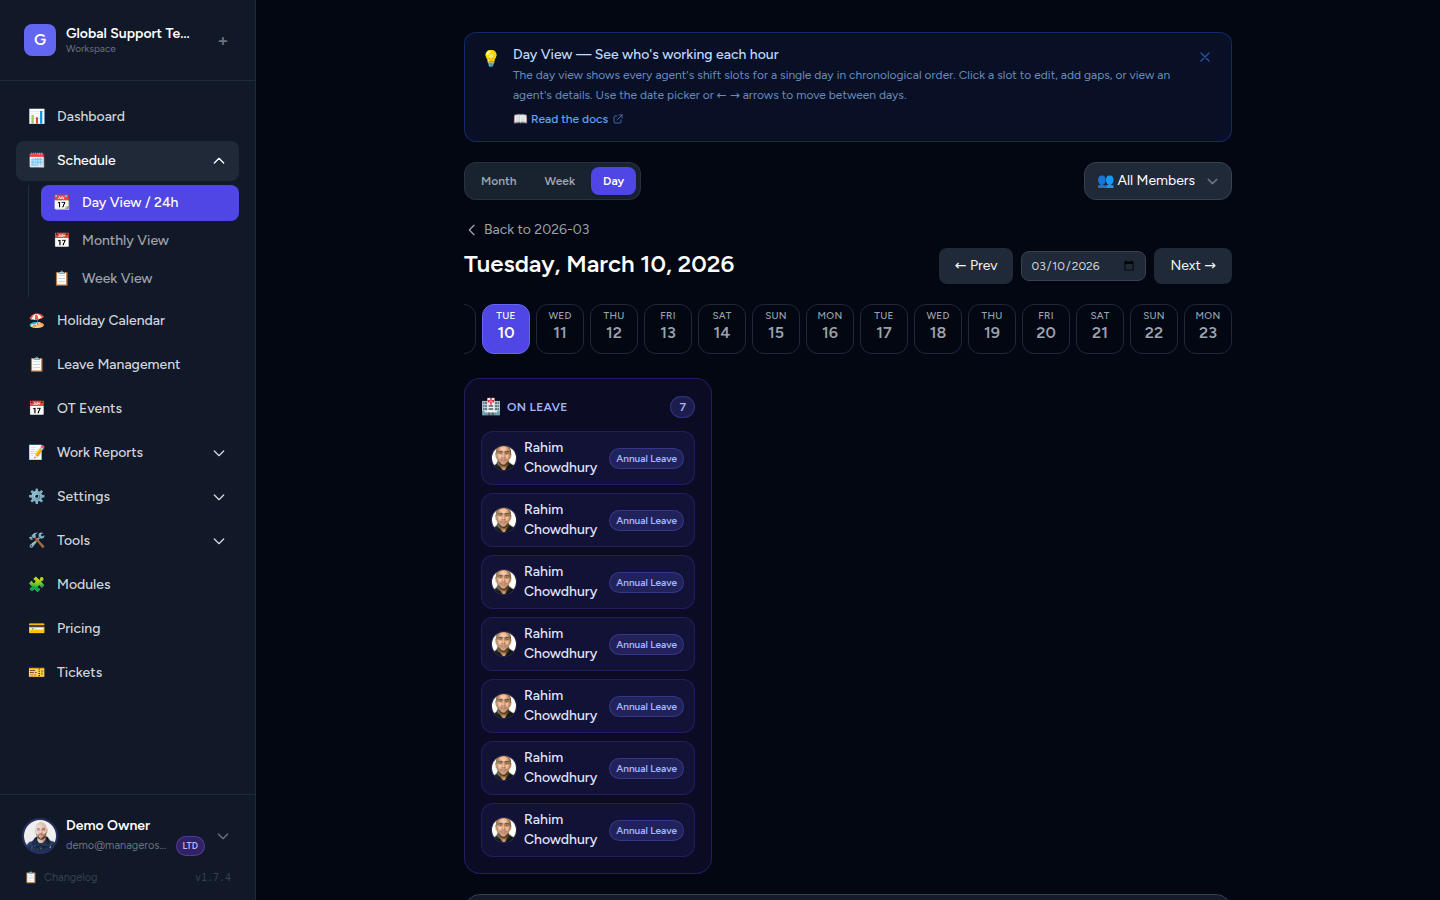
Absence Banners
Before the timeline, the Day View shows up to three banners that summarize agent availability for the day:
| Banner | What It Means |
|---|---|
| 🟡 On Leave | These agents have approved leave today — they are off and not counted as available |
| ⚫ OFF Day | These agents have today as their regular day off per their working-hours schedule |
| 🔴 Holiday | A public holiday applies to these agents today based on their holiday group |
INFO
An agent can only appear in one banner at a time. Leave takes priority over holiday, which takes priority over a regular day off.
Reading Agent Rows
Inside each hour row you'll see agent chips — small colored cards showing the agent's name or avatar. Each chip can carry additional badges:
| Badge | Meaning |
|---|---|
| OT | This agent is working overtime in this hour |
| Leave | This agent has approved leave (displayed in the banner, not in the timeline row) |
The chip color matches the agent's assigned profile color, making it easy to track individuals across the timeline.
📸 Screenshot: Agent chips with OT badge
Using the Day View for Real-Time Monitoring
The Day View is designed for active shift monitoring — not just planning. Here's how to get the most out of it:
- Keep the Day View open on a monitor during your shift. The live clock updates automatically — no need to refresh.
- Watch the NOW line to see which agents are currently scheduled in the current hour.
- Check the absence banners at the start of each day to immediately see if anyone is out.
- Spot coverage gaps — hour rows with no agent chips mean no one is scheduled for that hour.
- Look ahead by scanning rows below the NOW line to anticipate staffing changes in the next few hours.
Coverage Gaps
If you see an hour row with no agents, that is a coverage gap. Consider assigning an available agent to cover that slot. Contact your admin to make schedule changes via the assignment panel.
Admin: Assigning Agents to a Slot
If you have admin access, you can click any hour row to open the assignment panel:
- Click an hour row on the timeline.
- The assignment panel opens showing the current agents in that slot.
- Add or remove agents as needed. Tick the OT checkbox for agents working overtime.
- Click Save — the entire day's schedule is updated instantly.
INFO
Non-admin team members can view the Day View but cannot edit assignments.
Quick Reference
| Element | What It Means |
|---|---|
| Colored agent chip | Agent is scheduled for that hour |
| OT badge on chip | Agent is on overtime |
| Red NOW line (▶) | Current time indicator |
| Dimmed hour rows | Hours already passed |
| 🌅 Cyan border row | Morning-Day shift band |
| 🌙 Violet border row | Night shift band |
| 🌛 Gold border row | Late Night shift band |
| Empty hour row | No agents scheduled — coverage gap |
| On Leave banner | Agent has approved leave today |
| OFF Day banner | Agent's regular day off |
| Holiday banner | Public holiday for that agent group |