Appearance
OT Assignment
How to mark an agent as working overtime on a specific date and track OT hours separately from their regular schedule.
What Is OT in Manage Roster?
Overtime (OT) is any work an agent does outside their regular scheduled shift. In Manage Roster, OT is tracked separately from regular hours — it gets its own badge on the calendar and in Day View, so you can see at a glance who is working extra.
Common reasons to assign OT:
- An agent covers for a sick colleague
- Extra hands are needed for an unexpected traffic spike
- A team member volunteers to extend their shift
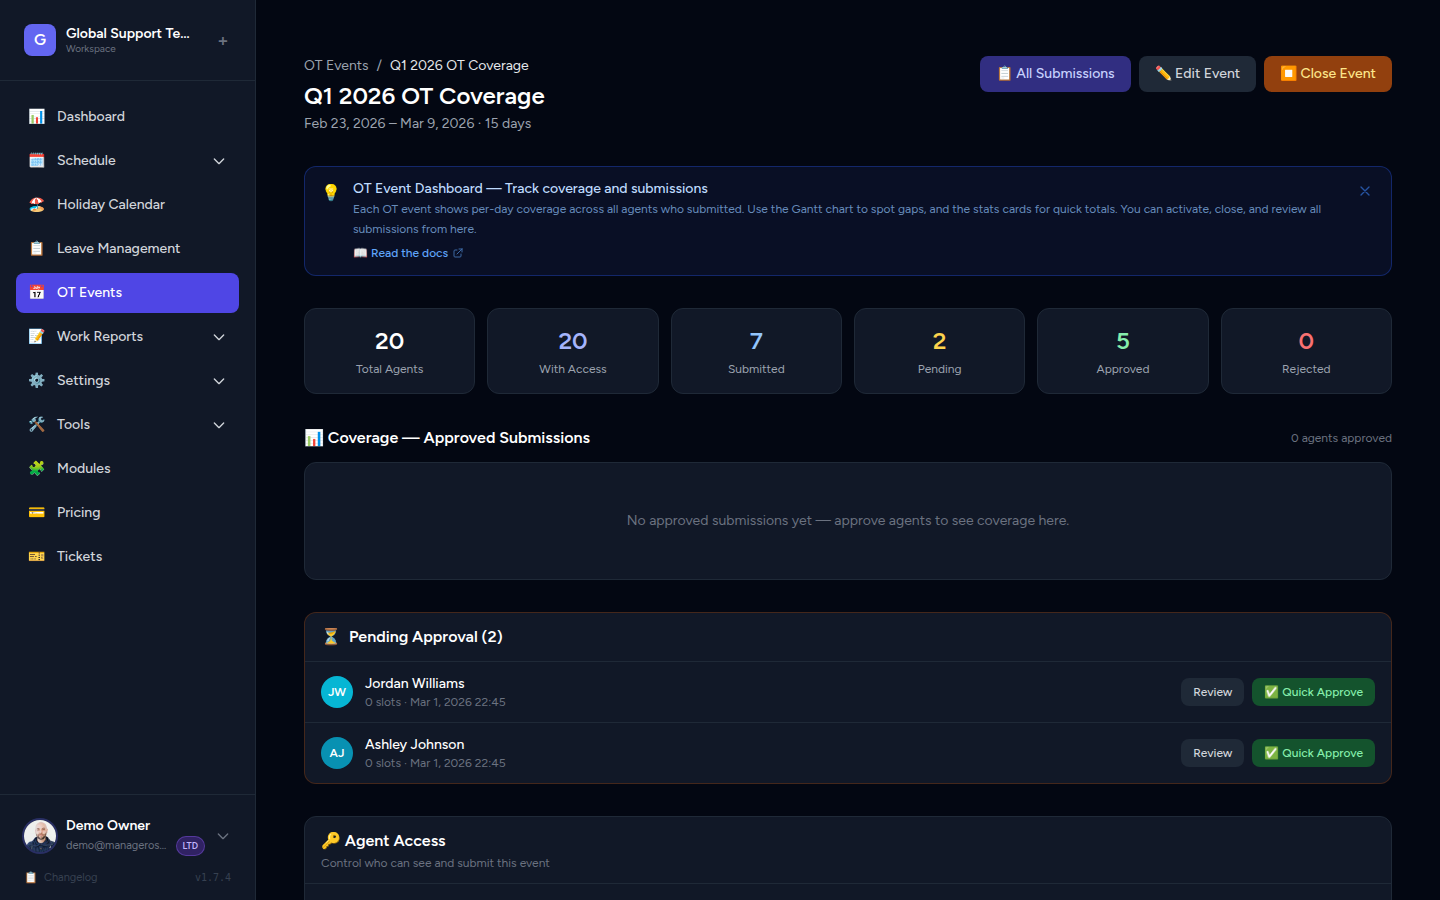
OT vs. OT Schedule Events
This page covers direct OT assignment — marking a specific agent as working OT on a given date.
For planned, large-scale OT coverage (like holiday periods or product launches), see OT Schedule Events. That feature lets you collect availability from multiple agents at once.
How OT Shows on the Schedule
Once you assign OT to an agent, it appears in two places:
- Day View — the agent's row shows an OT badge next to their shift block.
- Calendar / Monthly View — the day cell for that agent is marked with an OT indicator.
- Manager Dashboard — the "On OT Today" section lists every agent currently working overtime so you can see coverage at a glance.
OT hours do not replace the agent's regular shift — they are stacked on top of it as a separate block.
📸 Screenshot: Day View with OT badge visible on an agent's row
Assigning OT to an Agent
You can assign OT from the Day View or directly from the Calendar.
From Day View
- Go to Schedule in the sidebar and switch to Day View.
- Navigate to the date you want to assign OT for.
- Find the agent's row in the schedule grid.
- Click the + OT button or the agent's row action menu (the three-dot ⋯ icon).
- Select Assign OT.
- Set the OT Start Time and OT End Time for the extra hours.
- Click Save.
📸 Screenshot: Day View — clicking the action menu on an agent row to access Assign OT
From the Calendar
- Go to Schedule and switch to Calendar (Monthly) view.
- Click on the date you want.
- In the day detail panel that opens, find the agent.
- Click Assign OT next to their name.
- Set the OT Start Time and OT End Time.
- Click Save.
📸 Screenshot: Calendar day detail panel with Assign OT option
TIP
OT hours must be outside the agent's existing regular shift hours. If there's an overlap, you'll see a warning before saving.
Adding OT Hours (Start & End Time)
When assigning OT, you specify the exact hours the agent will work overtime:
| Field | What to enter |
|---|---|
| OT Start Time | When the OT shift begins (e.g., 10:00 PM) |
| OT End Time | When the OT shift ends (e.g., 12:00 AM) |
The system uses 2-hour blocks for OT tracking. Your entered times are mapped to the nearest block boundary, so scheduling stays consistent across the team.
Cross-midnight OT
If OT runs past midnight (e.g., 11:00 PM – 1:00 AM), make sure to assign OT on the starting date. The system handles the rollover into the next calendar day automatically.
Viewing All OT Assignments for the Month
To see a full picture of who is on OT across the month:
- Go to Schedule → Calendar (Monthly) view.
- OT badges appear on each day cell where an agent is working overtime.
- Click any date to see the day detail — OT assignments are listed separately from regular shifts.
Manager Dashboard shortcut
Your Dashboard also shows an "On OT Today" section at the top. This gives you a real-time snapshot of every agent currently working overtime without needing to navigate to the schedule.
📸 Screenshot: Monthly Calendar view showing OT badges on multiple dates
Removing an OT Assignment
If plans change and you need to remove overtime:
- Open Day View and navigate to the date.
- Find the agent's OT block (it will have the OT badge).
- Click the OT block or the action menu (⋯) next to it.
- Select Remove OT.
- Confirm the removal.
The OT badge disappears immediately from the calendar, and the agent's hours return to their regular schedule only.
WARNING
Removing an OT assignment cannot be undone from the app. If you remove OT by mistake, you'll need to re-assign it manually.
Quick Reference
| Task | Where to do it |
|---|---|
| Assign OT to an agent | Day View → Agent row → ⋯ → Assign OT |
| Set OT start/end time | OT assignment form |
| View all OT this month | Calendar (Monthly) view — look for OT badges |
| See who's on OT right now | Manager Dashboard → "On OT Today" |
| Remove an OT assignment | Day View → OT block → ⋯ → Remove OT |
Planning OT for a whole team?
If you're preparing for a busy period — like an Eid holiday or a product launch — use OT Schedule Events instead. It lets agents self-select available slots and lets you review and approve coverage before it goes live on the schedule.